
CalcumateGEO setup
How to Set Up CalcumateGEO
Section titled “How to Set Up CalcumateGEO”Step 1: Create a Calculator
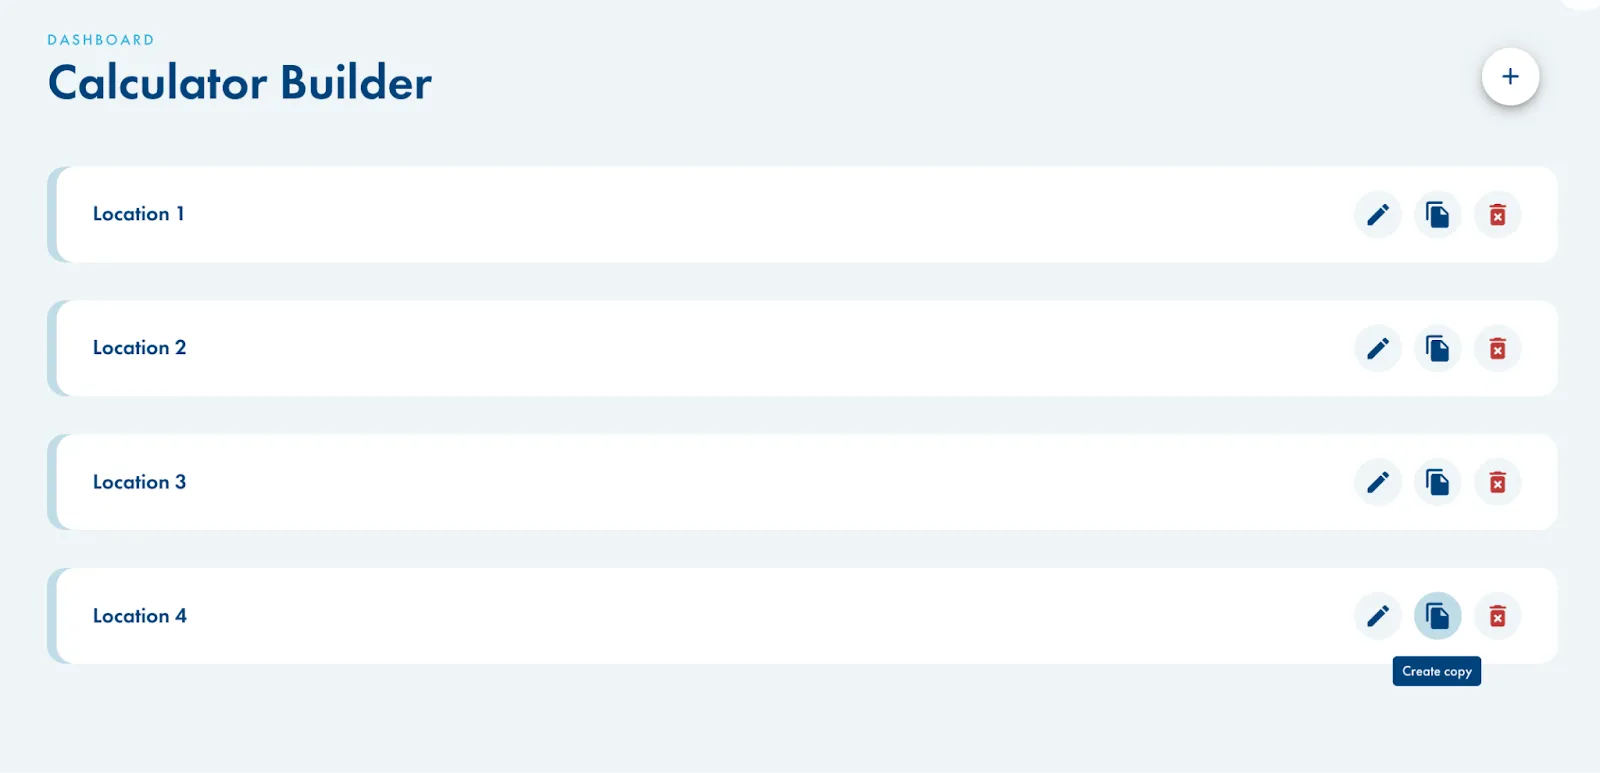
- Start by creating a new calculator from your Calcumate dashboard (login here if you haven’t already).
- You can also copy an existing calculator if you’ve already set one up before.
 Step 2: Enable Geolocation Widget
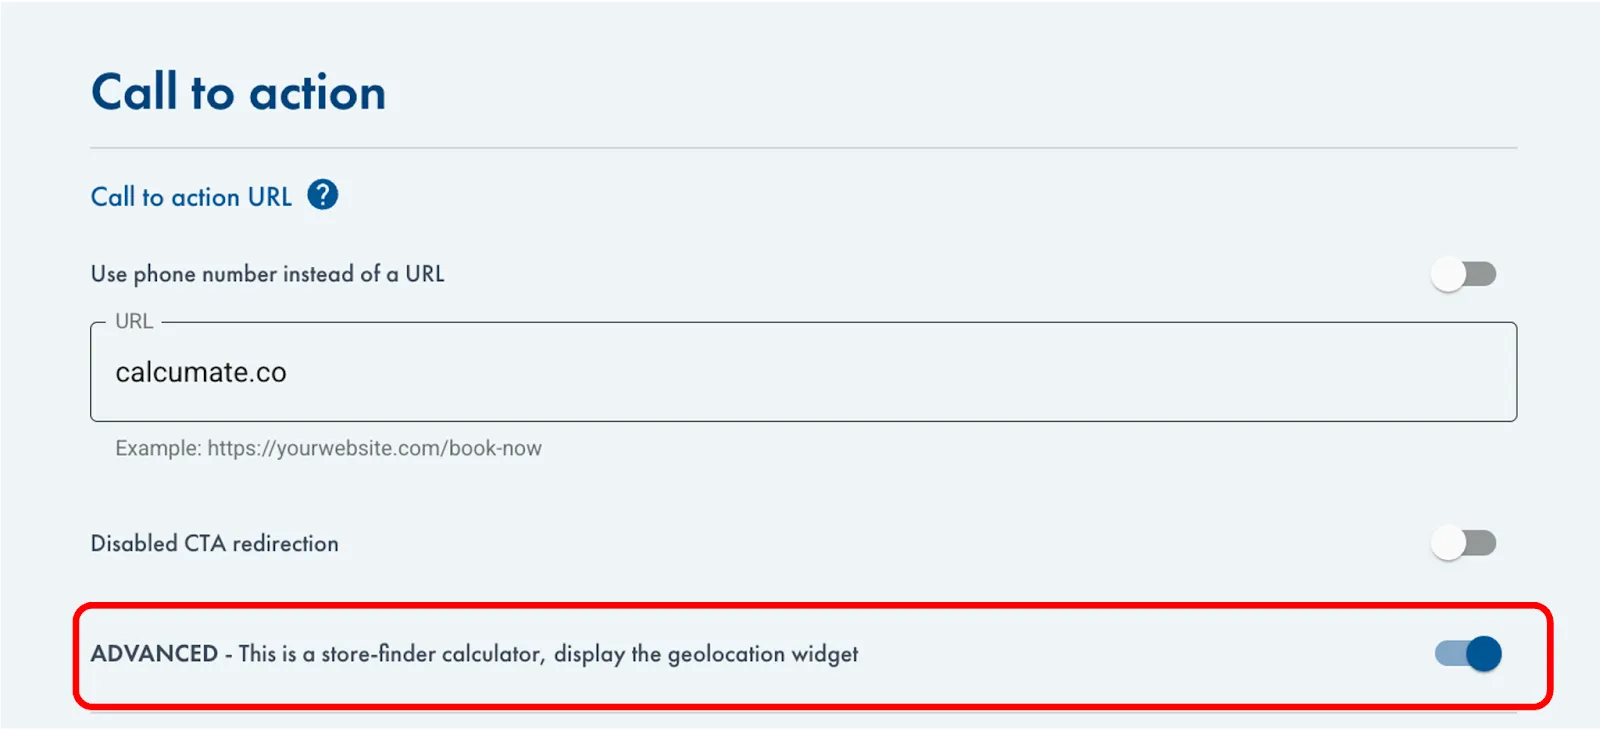
- Go to Advanced Settings of the calculator and enable the feature: “ADVANCED – This is a store-finder calculator, display the geolocation widget”
- Save your changes.
Step 3: Publish the Calculator
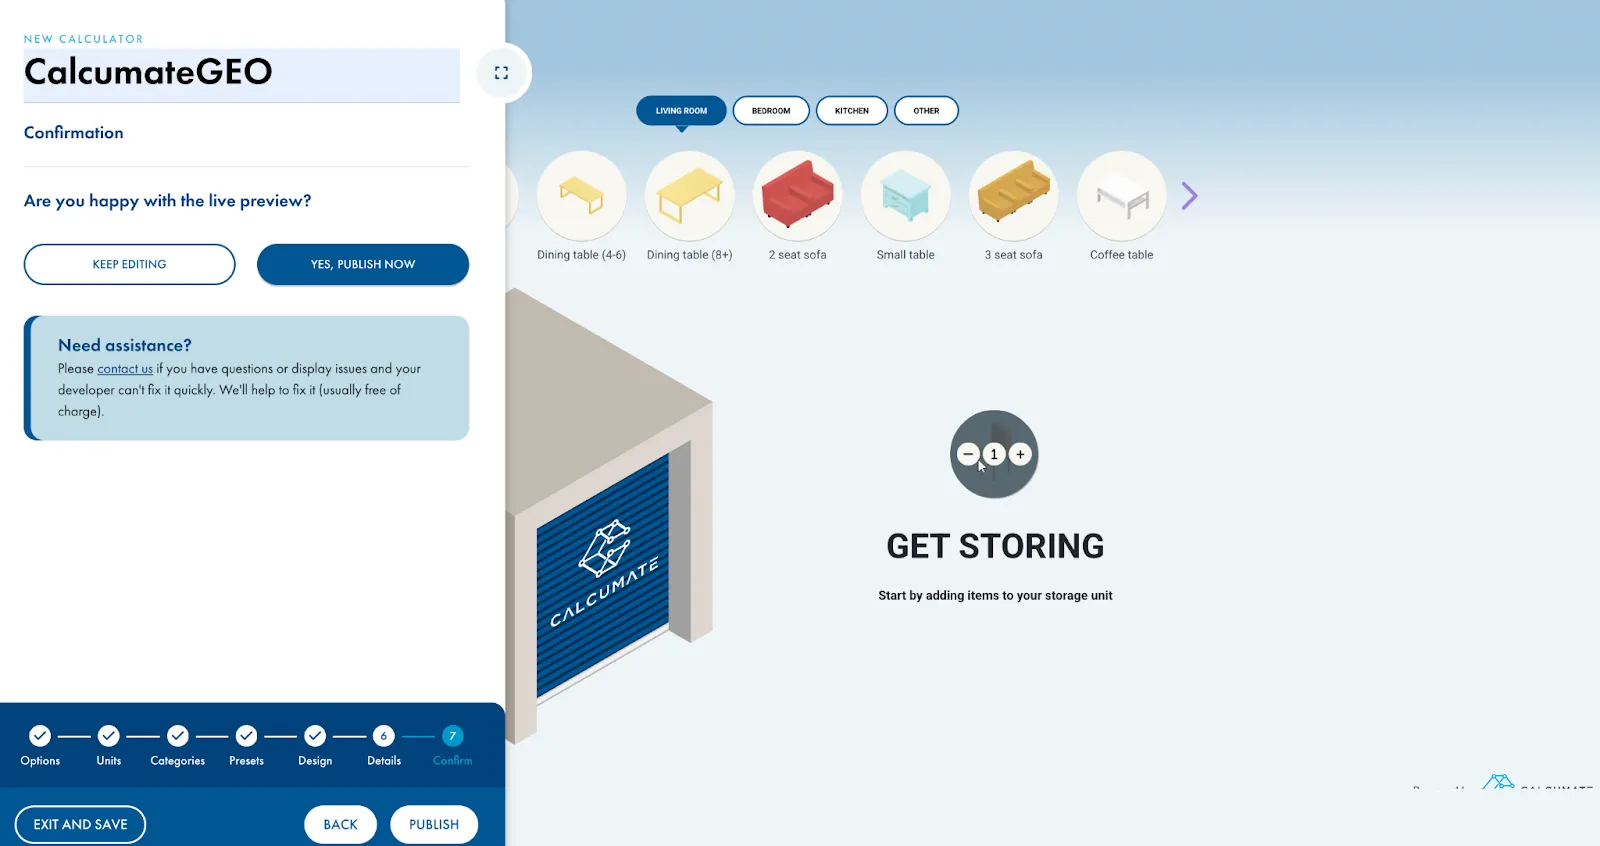
- Go to the Confirm step.
- Click Publish to generate the code snippet.
- Copy and paste the snippet onto your website, just like a regular Calcumate calculator.
Step 4: Configure Your Geo Locations
- In your dashboard, go to My Account.
- Head to the section Geographical Locations Setup and click Edit.

Step 5: Upload Your Locations File
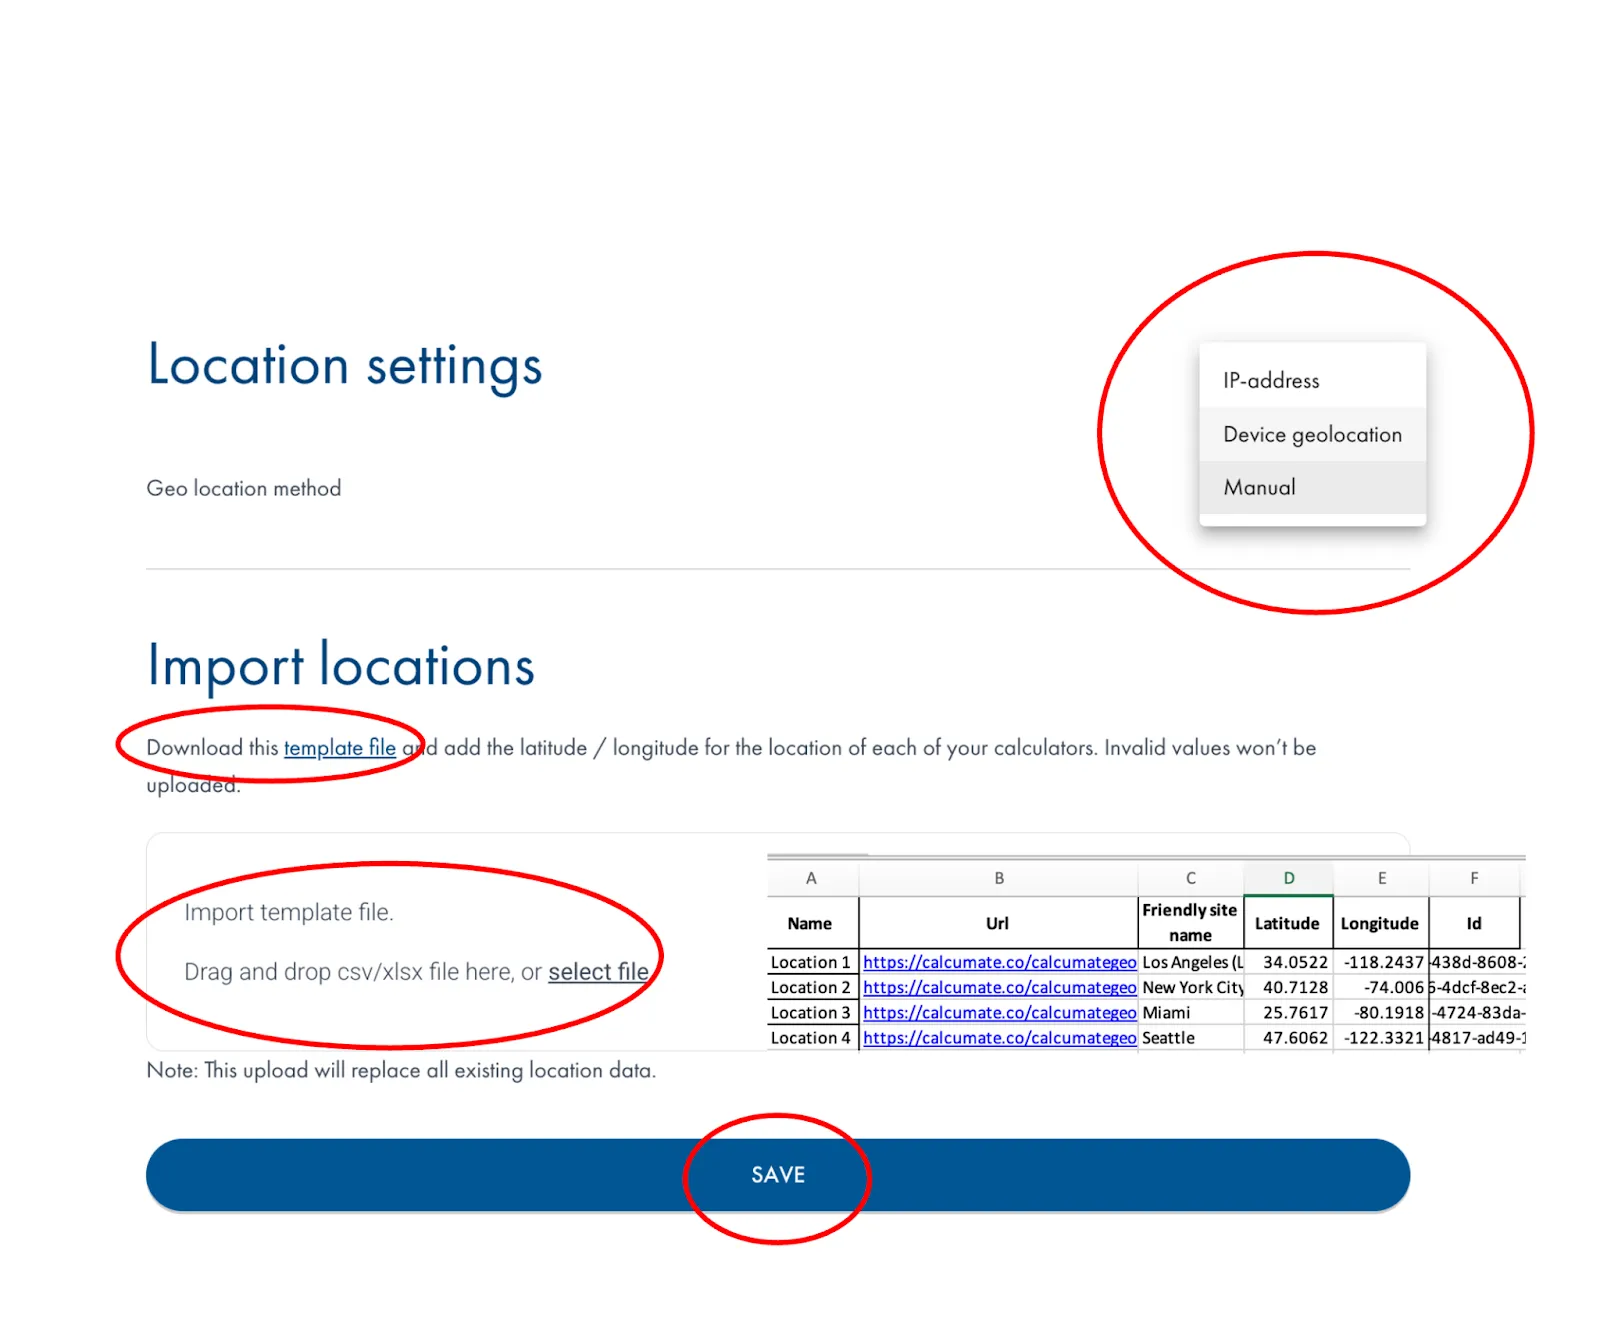
- Choose your geo-location method (IP address, Device geolocation or Manual).
- Download the provided template file.
- Fill out the required fields:
- The specific URL where each CalcumateGEO calculator is installed
- A friendly name for each location/calculator
- The latitude and longitude coordinates for each location
- Upload your completed file in the same section.
- Click Save Changes.
\
CalcumateGEO Custom Events Integration
Section titled “CalcumateGEO Custom Events Integration”CalcumateGEO is an intelligent calculator routing system that automatically detects user location and dynamically redirects to the most appropriate calculator for their geographic region, while allowing users to select another location if required, via a dropdown menu. The system preserves all calculator configurations and interactions through a robust custom event system that maintains data integrity across calculator transitions.
Booking Event
Section titled “Booking Event”This event works the same way as is described in this article.
UserDetails Event
Section titled “UserDetails Event”This event is triggered by the (optional) lead capture flow. It’s important to note that CalcumateGEO should be configured for lead capture as stated in this article. However, when configuring CalcumateGEO, in the advance settings menu:
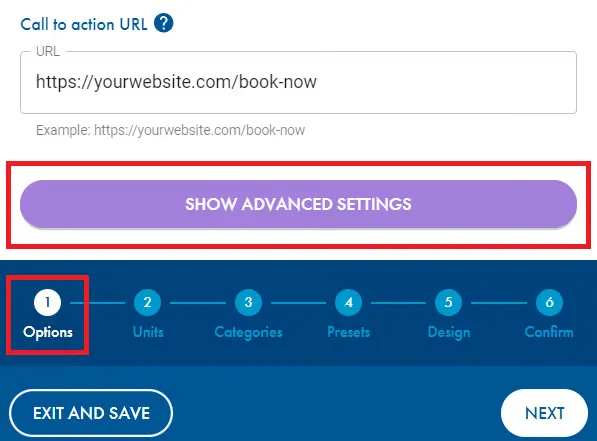
You should disable CTA redirect like this:

If you omit this step, the event may not be triggered.
CalcumateGEO Session Storage Cleanup in Single Page Applications
Section titled “CalcumateGEO Session Storage Cleanup in Single Page Applications”Our CalcumateGEO widget uses session storage to persist the selected FACILITY-ID across calculator interactions. While this enhances user experience, it can in very specific situations, cause conflicts when the calculator is used on different pages of the same website, such as when used within Single Page Applications.
Automatic Cleanup
Section titled “Automatic Cleanup”The CalcumateGEO widget automatically attempts to clean up session storage in the following scenarios:
Traditional Multi-Page Websites
Section titled “Traditional Multi-Page Websites”- Page unload events:
beforeunloadandpagehide - Component unmounting: When React components are properly unmounted
Current Limitations to Automatic Cleanup
Section titled “Current Limitations to Automatic Cleanup”In Single Page Applications (SPAs) and other unique scenarios where navigation doesn’t trigger full page reloads, the below sequence can occur.
When a user:
- Visits Page A with the calculator and selects a facility
- Navigates to Page B which also has the calculator
- The
FACILITY-IDfrom Page A persists and may interfere with Page B’s calculator
This is because, in (for example) Single Page Applications (React, Vue, Angular, etc.), our automatic cleanup may not work reliably because:
- No page reloads: Navigation uses client-side routing
- Event timing: Page unload events may not fire during SPA navigation
- Component lifecycle: Our embedded script may not detect when you navigate between routes
Workaround for SPA Applications
Section titled “Workaround for SPA Applications”If you’re using CalcumateGEO in an SPA, we recommend manually clearing the session storage when navigating away from pages that contain the calculator.
React Implementation
Section titled “React Implementation”import React, { useEffect } from 'react';
const YourPageComponent = () => { useEffect(() => { return () => { try { sessionStorage.removeItem('FACILITY-ID'); } catch (e) { } }; }, []);
return ( <div> {/* Your CalcumateGEO widget here */} </div> );};
export default YourPageComponent;Vue.js Implementation
Section titled “Vue.js Implementation”export default { name: 'YourPageComponent', beforeUnmount() { try { sessionStorage.removeItem('FACILITY-ID'); } catch (e) { // Handle cases where sessionStorage might not be available } }}Angular Implementation
Section titled “Angular Implementation”import { Component, OnDestroy } from '@angular/core';
@Component({ selector: 'app-your-page', templateUrl: './your-page.component.html'})export class YourPageComponent implements OnDestroy {
ngOnDestroy(): void { try { sessionStorage.removeItem('FACILITY-ID'); } catch (e) { // Handle cases where sessionStorage might not be available } }}Future improvements
Section titled “Future improvements”We’re actively working on a more robust solution that will:
- Auto-detect SPA navigation patterns
- Eliminate the need for manual cleanup in most scenarios
This documentation will be updated once these improvements are released.